- Published on ┈
- Published by
Payoneer Sign up Guide 2020 – Sign up & Get $35 Free Credit
This post is aimed to be a complete Payoneer sign up guide in 2020 and will be updated in case there are any changes in the process during this year (which hopefully won’t happen).
Step 1: Payoneer Sign Up – Getting Started
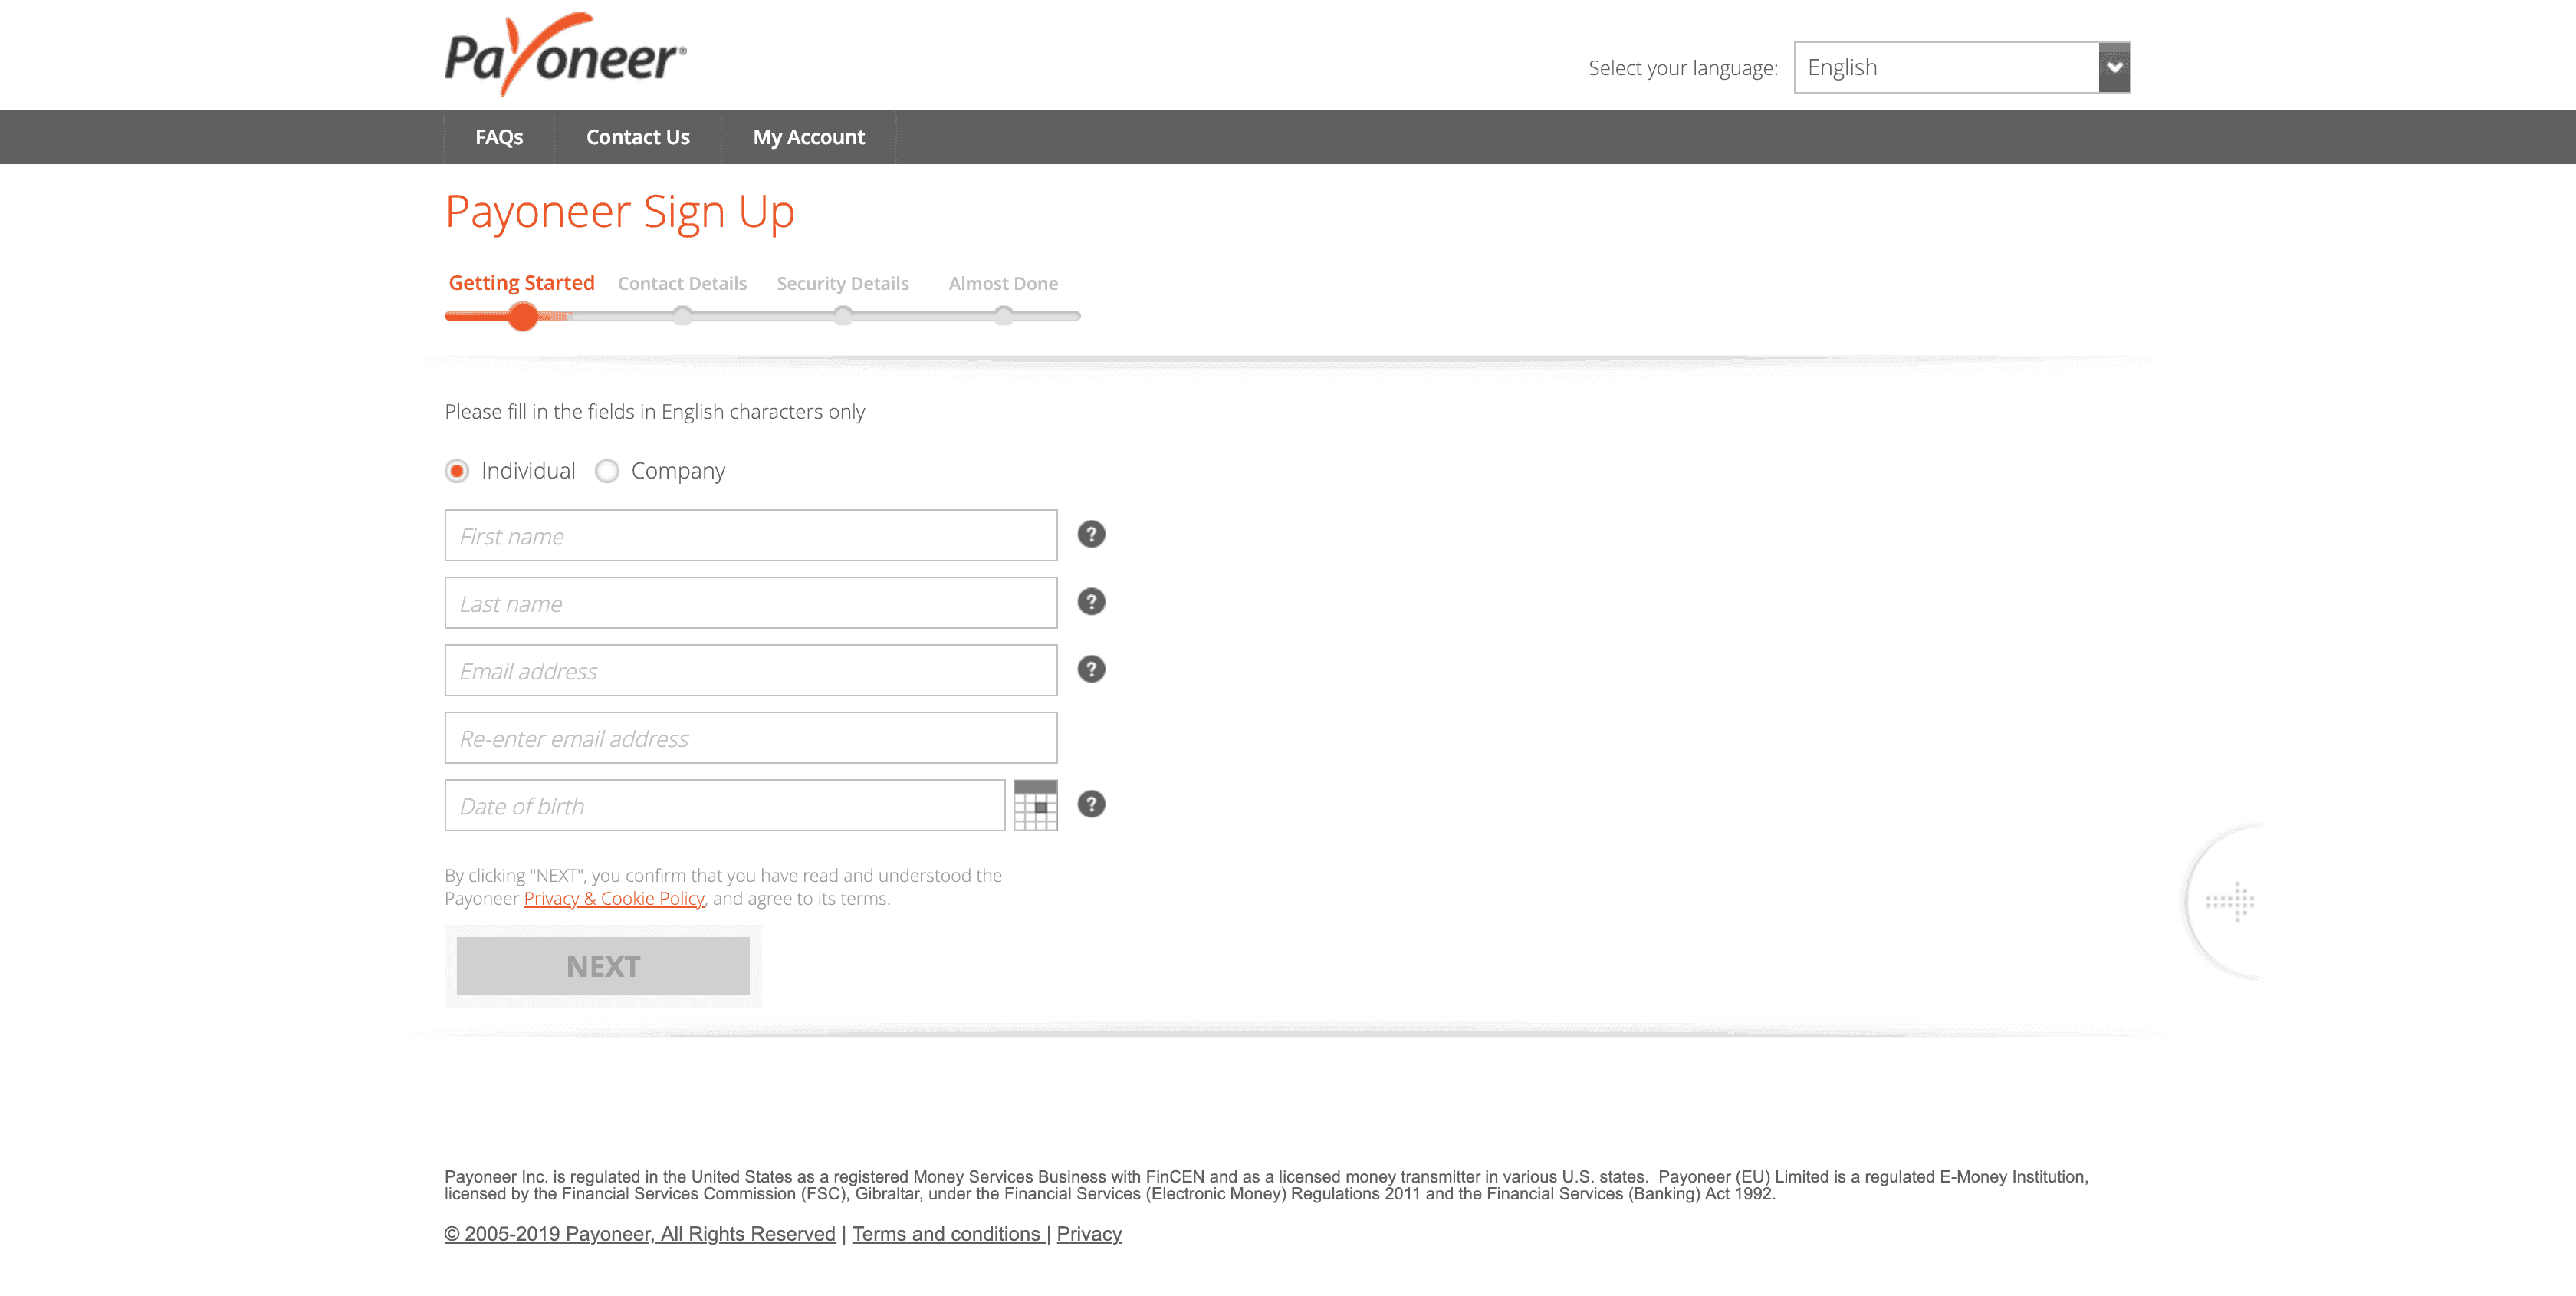
Individual/Company: Getting started, you have your first question: Whether you are a company or an individual? In most cases, the answer is Individual, so select that. If you are a company, you’ll know 😛.
First Name: Enter your first name here. Now, for English names, this field is pretty straight forward. But as people here have three names (First, Middle and Last), you are supposed to enter your First and Middle names in this field, separated by a space. For example, my full name is Muhammad Arslan Aslam. For me, “Muhammad Arslan” would go in the First Name field.
Last Name: Enter your last name in this field. For most Pakistani customers, it’s usually our father’s name or (as they say it) surname. Taking the previous example further, for me it would be “Aslam”.
First Name / Last Name have nothing serious going on there. You just have to match the first name and last name as your full name on the CNIC.
Email Address + Re-enter Email Address: Enter your email address in the Email Address field and then repeat the same email address into the Re-enter email address field. Do this carefully and make sure you are entering the right email address as this is your only way into your account. If you enter your email wrong, you won’t be able to receive any confirmation email or reset-passwords emails, so you won’t have any way to recover your account afterward.
Date of Birth: Enter your date of birth as it is on your CNIC. This, in most cases, is used for verification that you will need to do in order to receive/make payments from your Payoneer Account.
Click Next and head to:
Step 2: Payoneer Sign Up – Contact Details

Select your country and enter your complete home address. Make sure that the address can receive the local post. One of the most asked questions is why people don’t get their cards delivered on time or delivered at all?
In Pakistan, our address system is not very much documented. People from rural areas, or even from major cities, don’t write their proper addresses but just basic street names and city/town names. You are supposed to write an address that can be verified and reached by your local post office. Even better, consult with your post office what address would be easy for the post office to navigate or you might not receive your card.
For a list of all zip/area codes in Pakistan, use this tool from Pakistan Post. Enter your area/town/village name and you will see a list of area codes. Choose the one that’s most accurate.
For the last field in this step, please select Mobile and enter your mobile number. For the mobile field, the country code (+92 in this case) is automatically selected. So, you just need to enter your number without country code like so 300123456.
You can also read about Proof of Residence and why is it necessary to get your Payoneer account approved quickly here.
Step 3: Payoneer Sign Up – Security Details
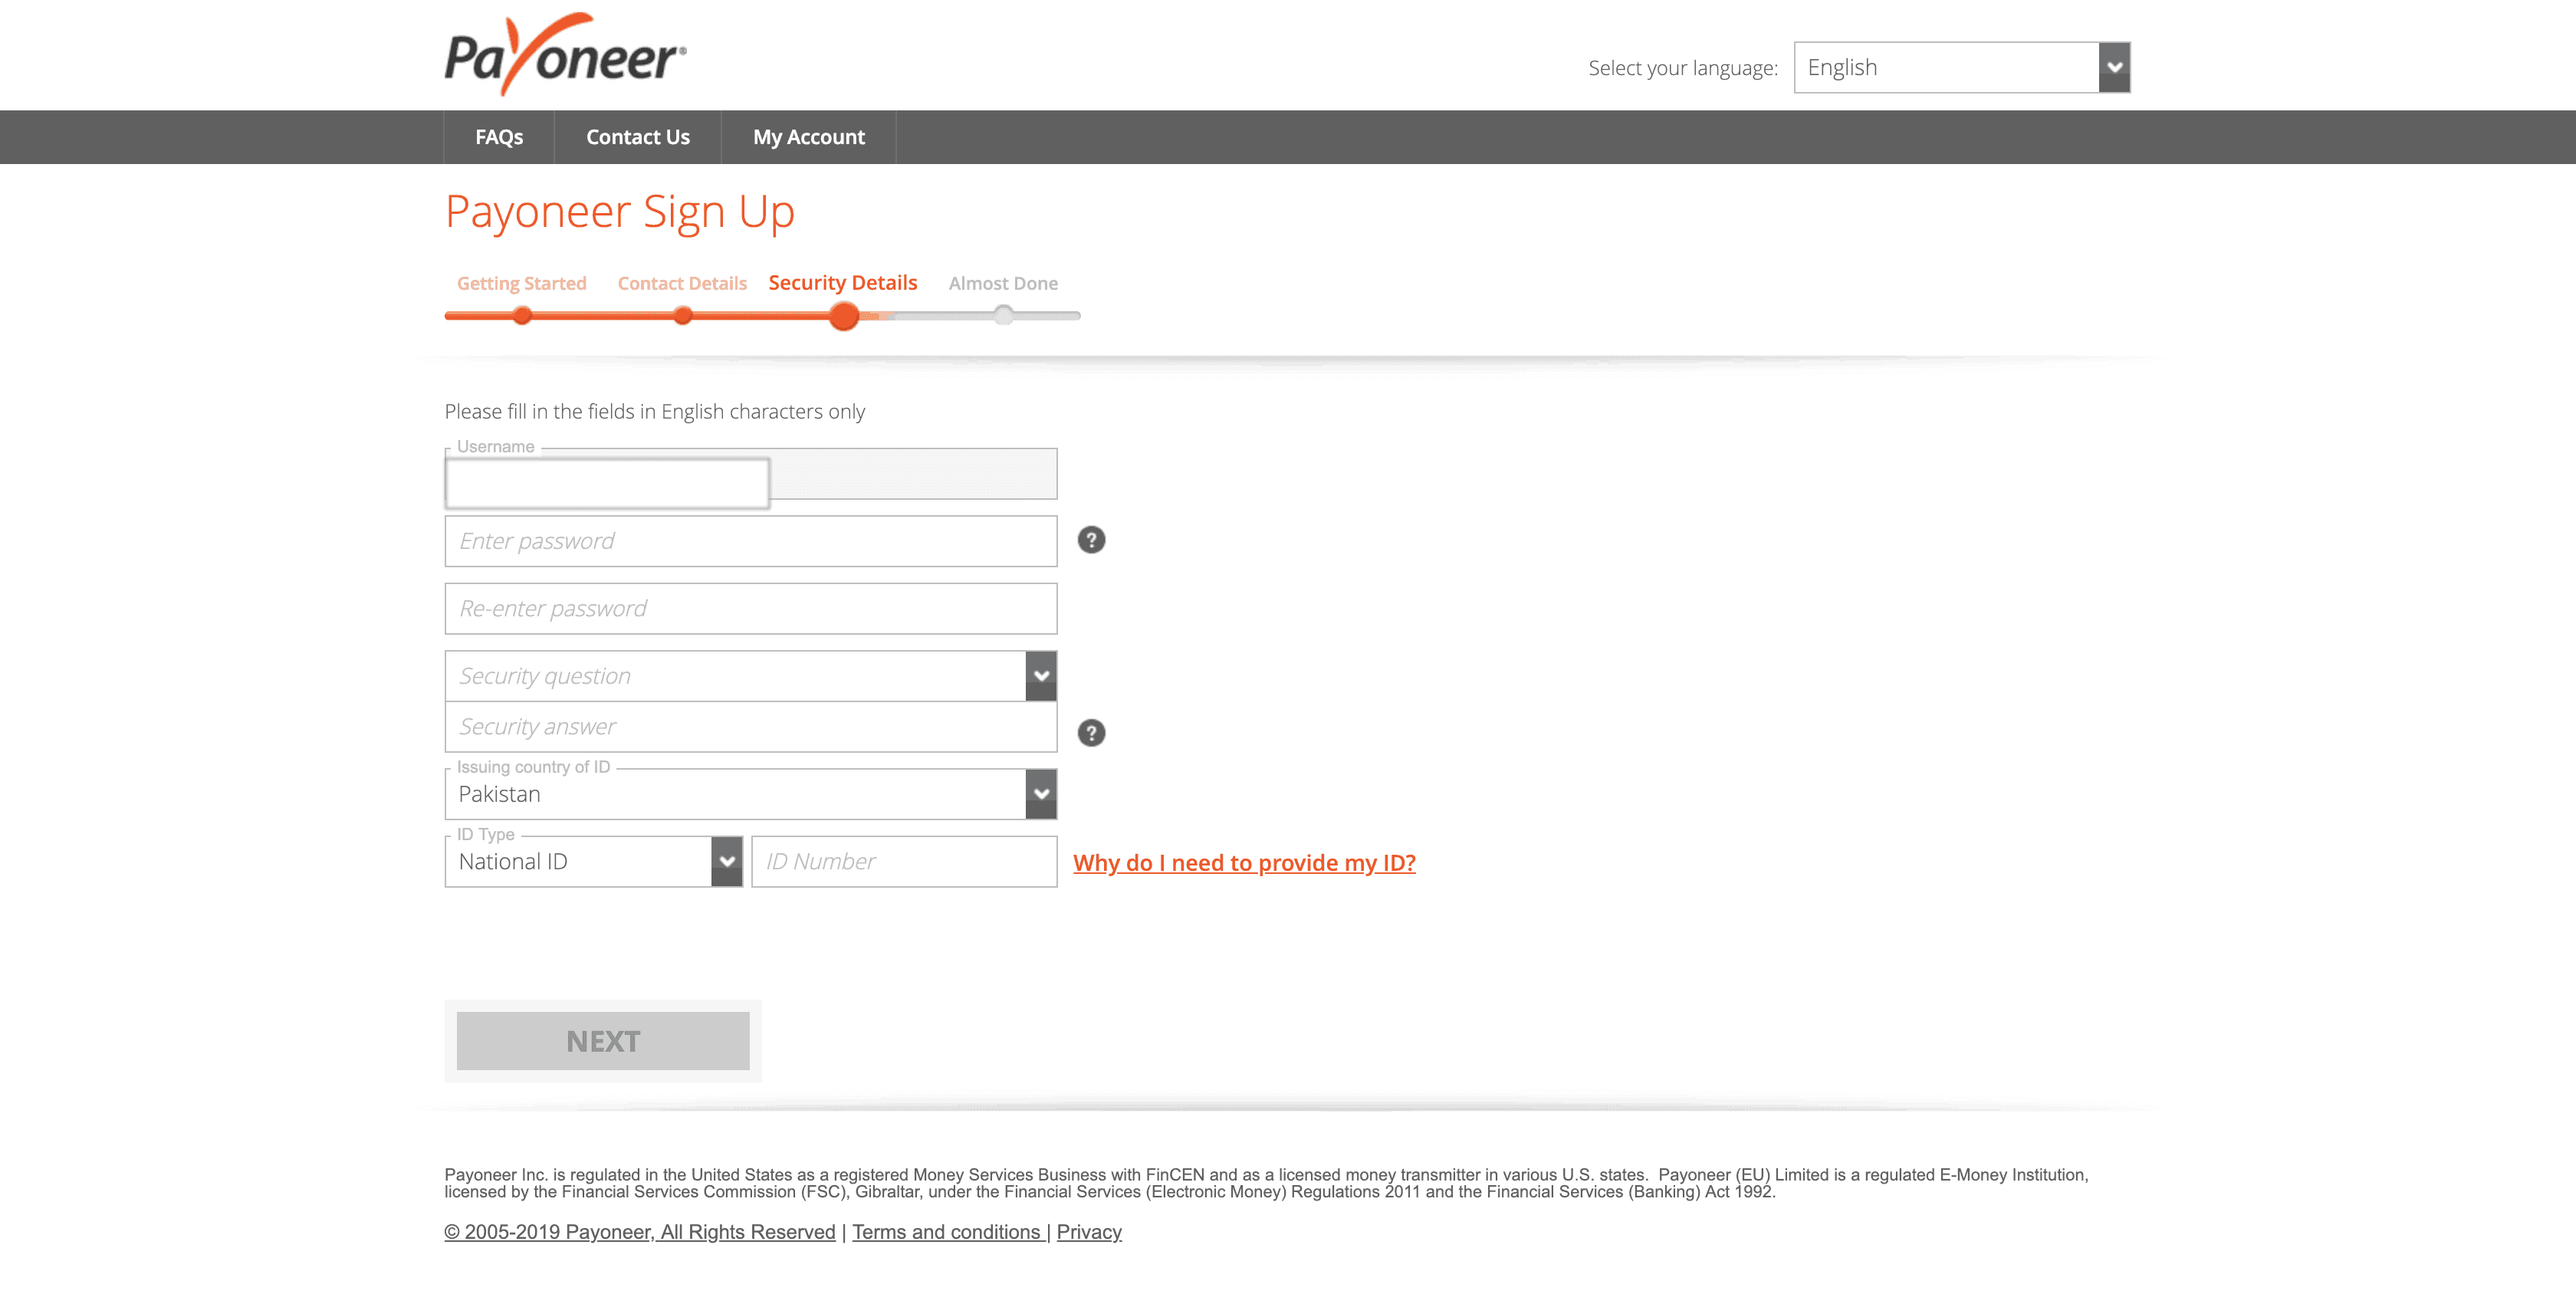
Username: The username field is automatically filled in this section with the email address you provided in the first step.
Password/Re-enter Password: Enter your desired password (make sure it’s secure and NOT easy to guess or use this beautiful tool by the Last Pass to generate a secure password.
Repeat the same password in the Re-enter Password field.
Security Question: This field is quite an important one. In case you forget your password, you can use this field to get your access back to your account. Choose a question from the dropdown in the Security Question field that is unique and most relevant to you so you can remember it well.
Put the answer to your Security Question in the Security Answer field.
National ID Number: Now, this is the field that most people think would be alright to mess around with and then complain that their accounts never get approved.
In this field, you have to enter YOUR personal CNIC number, without dashes (e.g., 3567412345678). See, how I emphasized on the word YOUR? That’s because you are supposed to put your own CNIC number here. Not your father’s. Not your brother’s. YOUR OWN CNIC NUMBER.
Payoneer will ask you to verify documents in order to receive payments later on. Those documents will include front and back photos of your National ID Card. I am not sure if the next thing that I am going to say is valid 100%, but that’s pretty much how it usually works. They will verify the CNIC number here with the photos you provide and also verify the name. If this account that you are creating is not on your name or the name doesn’t match with the CNIC photos you submit, they might not approve your account.
Don’t think the Payoneer account as a social media account. It’s your bank account. You are (most probably) going to make money transactions through this account. They need to keep track of every transaction. So, always use your own full name as your account’s name and use your own CNIC to stay secure.
Step 4: Payoneer Sign Up – Almost Done
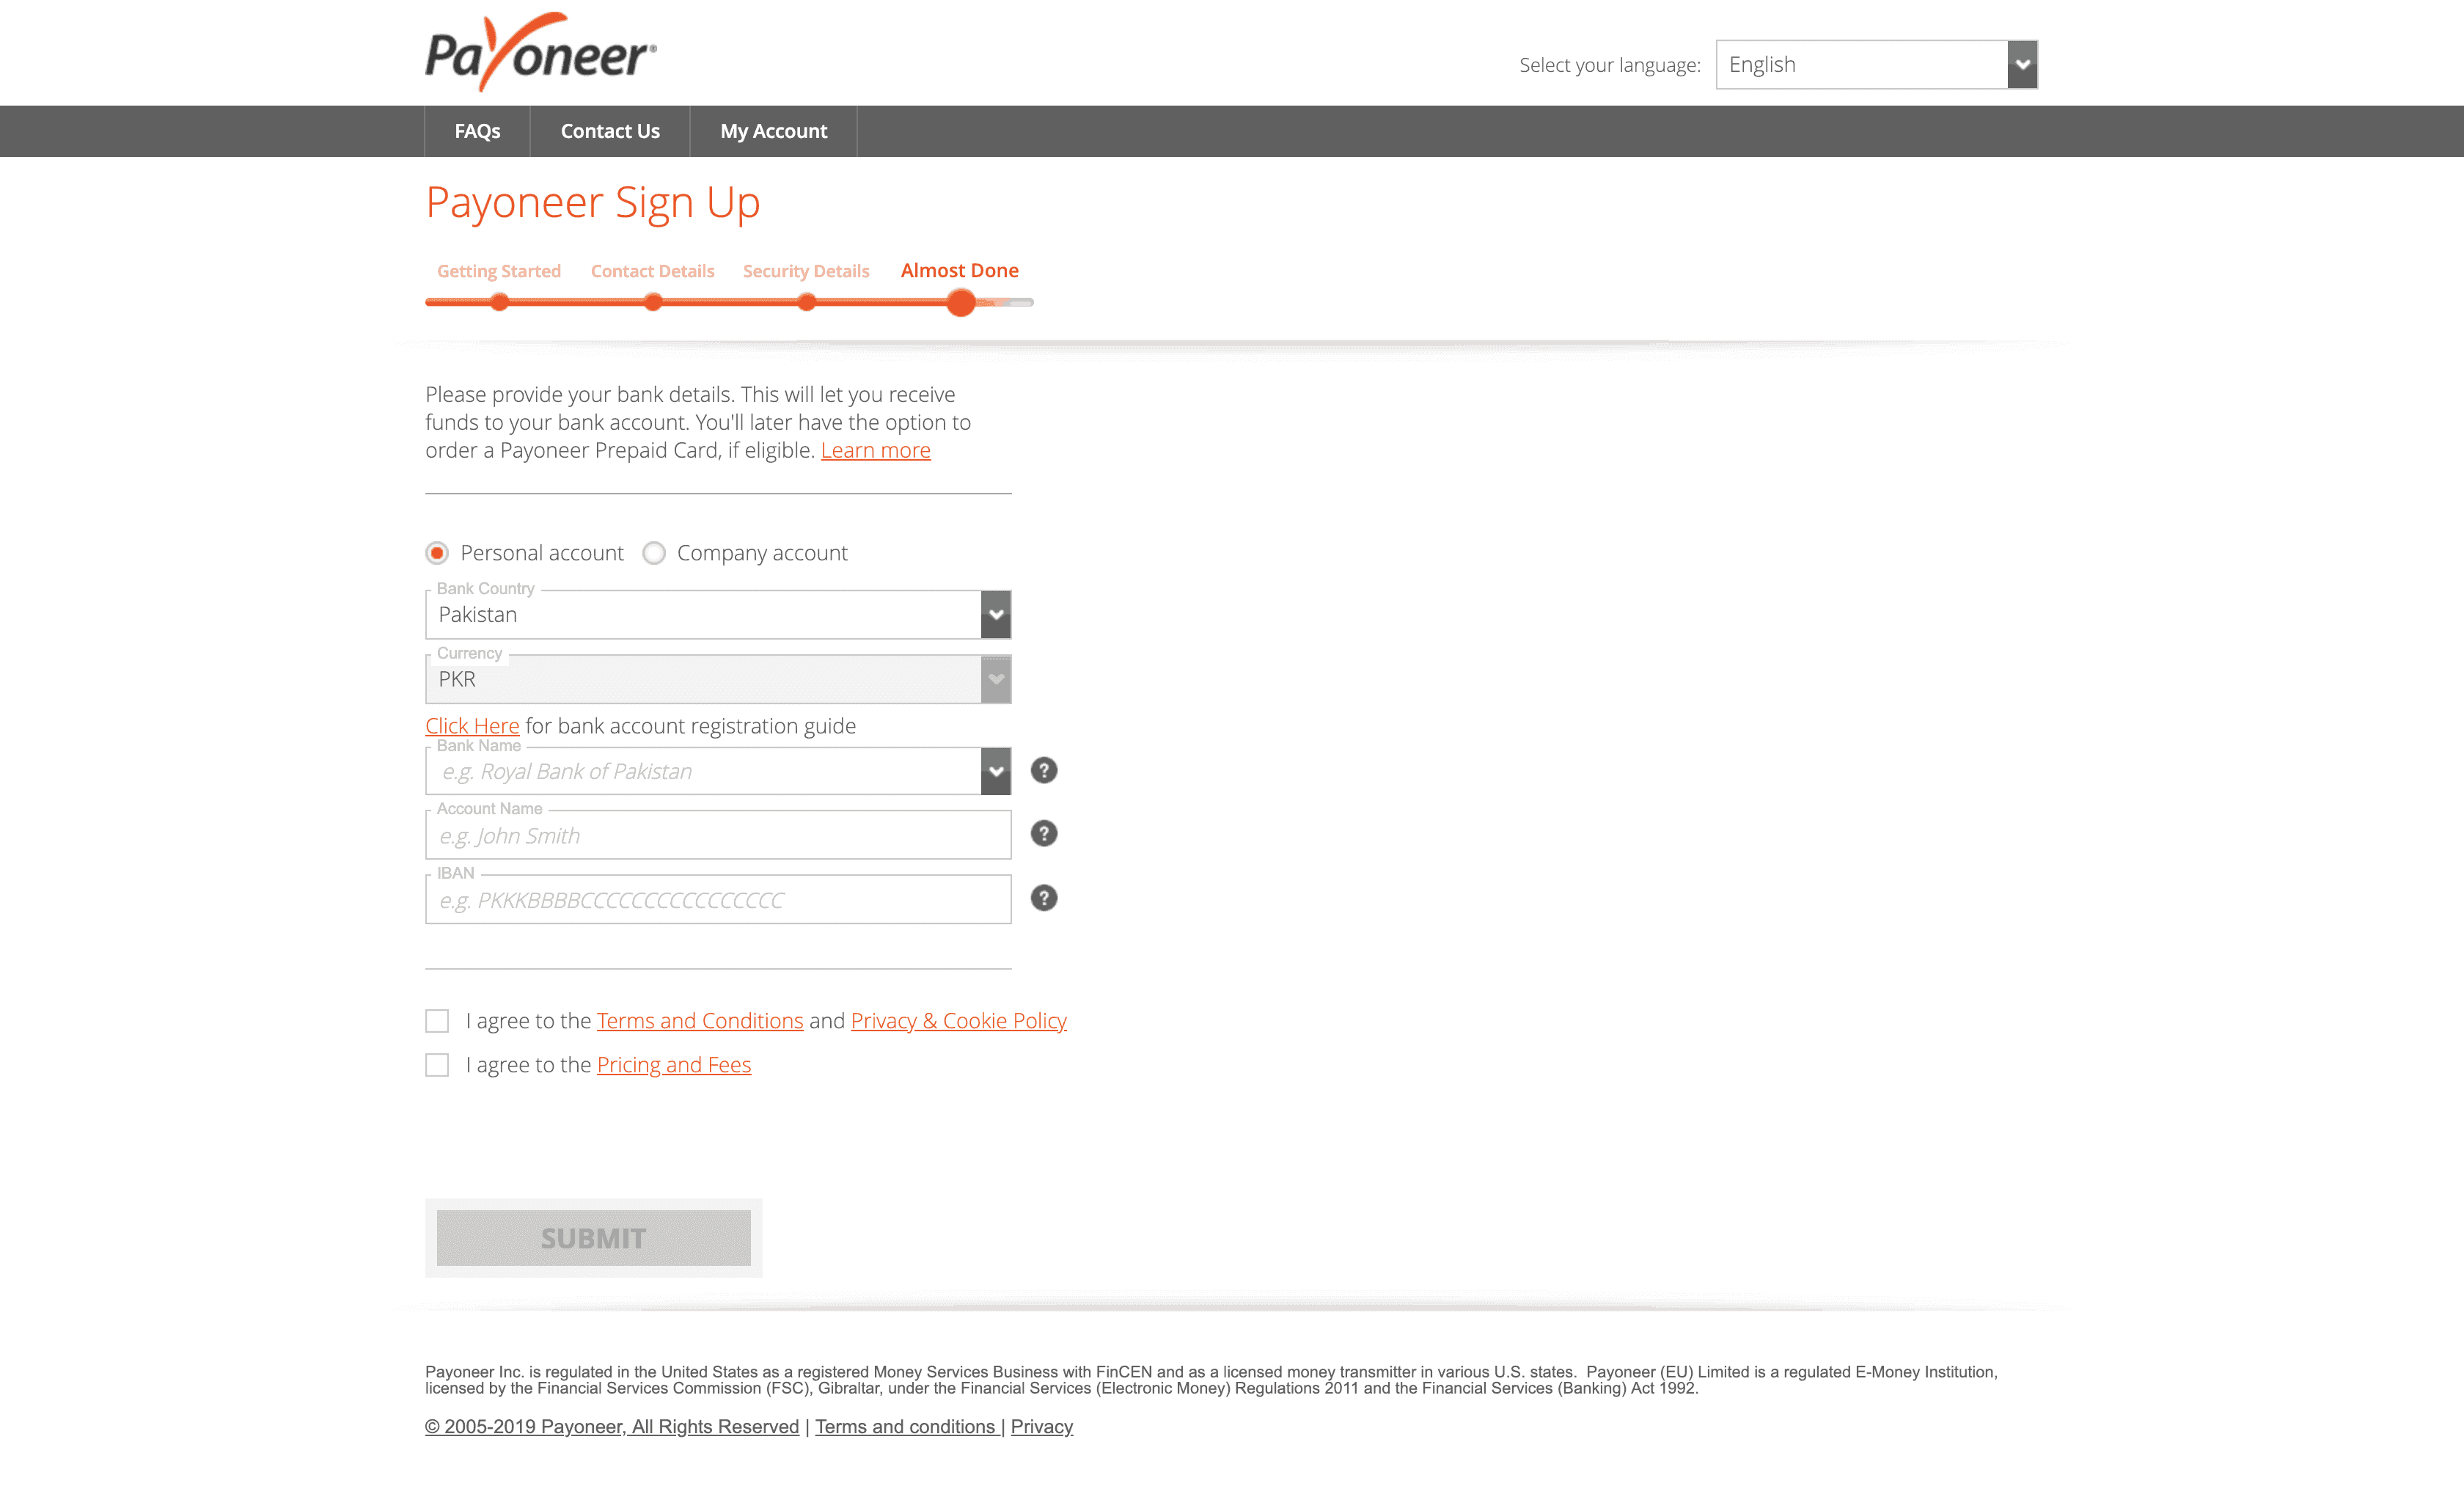
Last but not least. The bank account details section. There are two options: 1) Personal Account and 2) Company Account and I’ll try my best to explain them according to my knowledge although they are pretty self-explanatory.
In most cases, you are supposed to select the 1st option (Personal Account), as you will be signing up for a personal account. But, if you are representing a company that has a bank account registered on its name, select Company Account and enter the details of your company’s bank account. This will help you with your taxes and stuff in the future.
Bank Name: As suggested by the name, enter your Bank’s name e.g., Meezan Bank, etc.
Account Name: Enter your bank account’s name (or in some cases called Account Title). In most cases, this would be your own name.
IBAN: IBAN stands for International Bank Account Number. Every bank account has one. Yours do too. Most bank accounts now offer internet banking services and you can find your IBAN in your account.
If you can’t find your IBAN, you can easily generate it here. You will need your bank’s SWIFT/BIC code and your account number. Now, remember that SWIFT/BIC code varies from branch to branch. So, make sure you are entering the correct SWIFT/BIC code. Here’s a list of all Pakistani banks’ SWIFT codes.
Agree to Terms and Conditions. Agree to Pricing and Fees. Or in short, check both checkboxes and hit Submit and that’s it.
You will receive an email to verify the email address. Click the big orange Verify My Email button in the email. After you have verified your email address, you will receive another email from Payoneer, saying that they will review your application in up to 3 business days.
In some cases, the account verification can take more than 3 business days or maybe even 3 weeks. There’s nothing you can do to make this process fast. Payoneer will approve your account when they do.
For this guide, I signed up for an account, that only took 15 minutes to get approved. Only 15 minutes. And that’s because I used all the correct information.
I hope this will help you in your Payoneer sign up and get your account approved. If you find this helpful, please consider sharing this guide with others.